This guide introduces you to the three stages of detecting a variable pixel within a game element such as an MMORPG fishing bobber:
Before we start, the Pixel Detection window needs to be opened. To do this, perform the following actions:
 ).
).![]()
Fig. Pixel Detection window
MORE: To find out more about the basics of configuring Chimpeon, refer to the Getting Started guide.
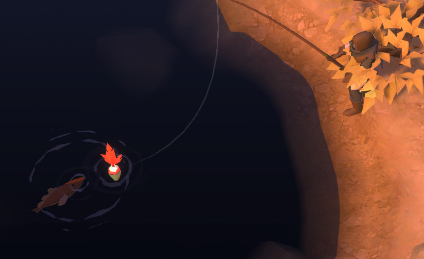
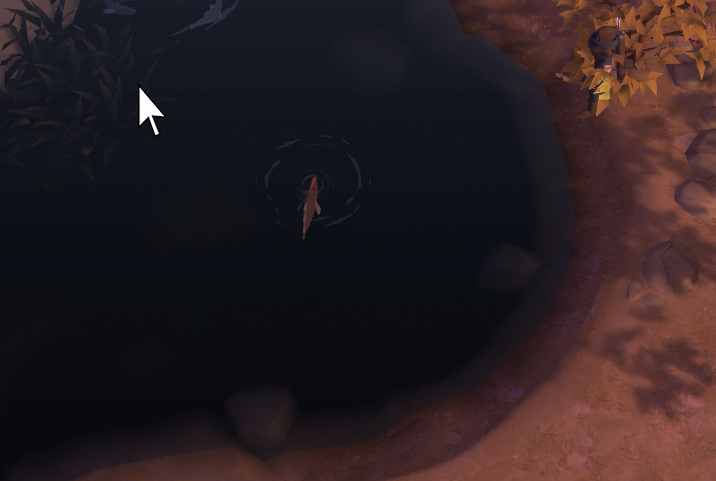
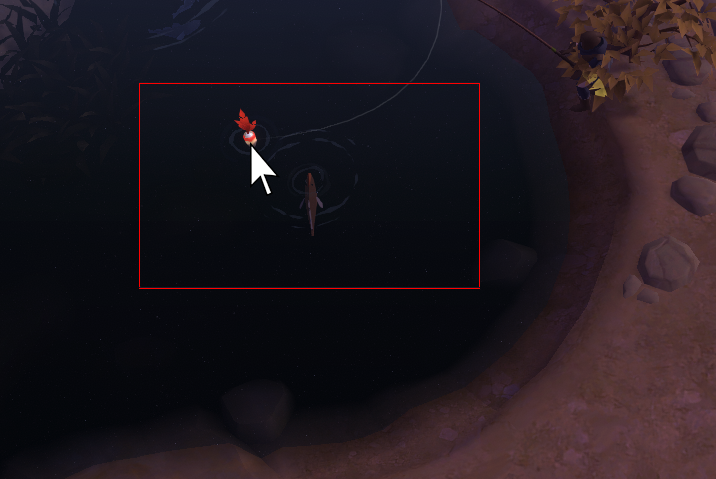
A variable pixel can appear in multiple positions within the game window, such as a pixel within an MMORPG fishing bobber. It is therefore necessary to specify a Scan Area where the pixel can appear and where Chimpeon looks for it.

Fig. Example of a variable pixel in an MMORPG fishing bobber
To indicate the use of a variable pixel and to specify a Scan Area, perform the following actions:
![]()
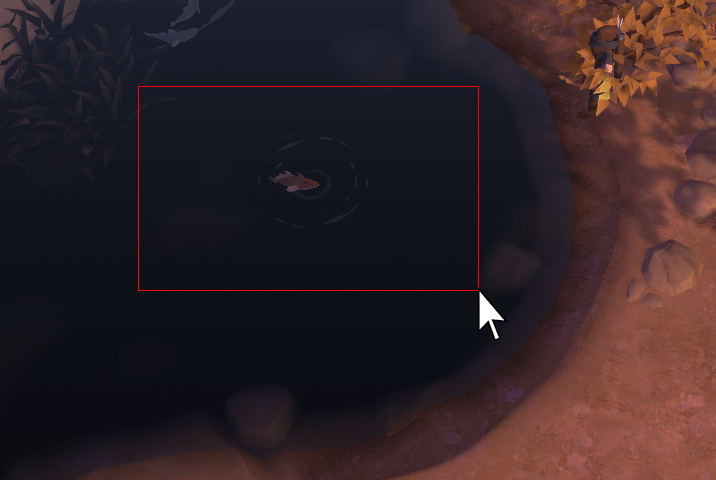
The Top and Left settings in the Pixel Detection window are set to indicate the coordinates (in pixels) of the top left of the Scan Area.

The Bottom and Right settings in the Pixel Detection window are set to indicate the coordinates (in pixels) of the bottom right of the Scan Area. The border of the Scan Area also appears in the game window.

The colour a pixel must be before Chimpeon considers it detected or not detected, is largely specified within a component of the Pixel Detection window called Snapshot. Snapshot, like the name suggests, is a snapshot (static image) of an area of the game window where the game element a pixel colour appears in. To take a snapshot of the game area, perform the following actions:

A live view of the game area is displayed in Live centered at the cursor.
![]()
 ) or press Shift-S
A snapshot image is taken of Live and displayed in Snapshot.
![]()
Now the Scan Area has been specified and a snapshot has been taken, the colour of the pixel to look for must be specified.
A variable pixel in a game element such as an MMORPG fishing bobber will normally be a range of colours due to in-game lighting effects. It will therefore be necessary to specify the left and right extremities of a colour range. Chimpeon then looks for a pixel that matches the colour of the two extremities and every colour in between.

Fig. Example of a pixel with a range of colours in an MMORPG fishing bobber
NOTE: If the pixel to look for is a fixed colour (i.e. the colour does not change due to lighting) then refer to the Detecting a Fixed Pixel guide.
To indicate the use of a colour range and to specify its extremities, perform the following actions:
![]()
![]()
A crosshair appears in Snapshot and the colour of the pixel is displayed for the left extemity of the colour range.
![]()
![]()
A crosshair appears in Snapshot and the colour of the pixel is displayed for the right extemity of the colour range.
![]()
HINT: To make a pixel colour easier to select, zoom into Snapshot using the Mousewheel Up button and zoom out using the Mousewheel Down button when the cursor is over Snapshot.
You have been sent an email to reset your password.
If you can't find it, check your junk or spam folder.